| A. Shape and form your neck blank with the truss rod slot at 1/4" or slightly tighter if desired. IMPORTANT NOTE: At this point, please check the rod for proper working conditions. clamp gently in a small vise and test the rod by turning both directions to make sure it is working correctly. We have very good results with our rods and quality control, but it is a very good idea to simply check at this point to make sure everything is working right. It is not fun to have to replace a rod once it is installed and the fret board is in place.  Limited 90 day parts only warranty: Our warranty on this item is limited to replacement of the rod itself. We are not responsible for damages incurred in the installation of the rod or as a result of a damaged rod. Please carefully check the rod for correct action prior to installation. Any cost beyond the replacement of the truss rod itself is not covered under our product warranty on this item. Please bench test the rod prior to installation. Please notify us immediately if you have a defective truss rod, we will replace the part under this 90 day warranty from the date of original purchase. . | ||
| B. Select the truss rod length you need for your project. There are a lot of variations, in general you want to have 75%-90% of the distance covered with the rod to allow for control. Dual action and two way rods are a little more forgiving in the ability to adjust in both directions.  Note: Do not remove the blue covering on the rod, It allows the rod to move in the slot and can be used as an anchor point with silicone or epoxy glue if desired. Or you can embed silicon caulking in the lower side of the channel to prevent rattling. Note: Generally the flat side of the rod goes against the fret board, but on a two way rod it can be installed either direction. Note: The slot should be cut so the rod fits snug in the slot and has minimal play. Insert the rod in the slot and check for fit. If the rod sits slightly low, that is pretty easy to correct. If the rod is high, you will need to adjust the depth on the slot. | ||
C. Insert the rod in the slot and check for fit. If the rod sits slightly low, that is pretty easy to correct. If the rod is high, you will need to adjust the depth on the slot.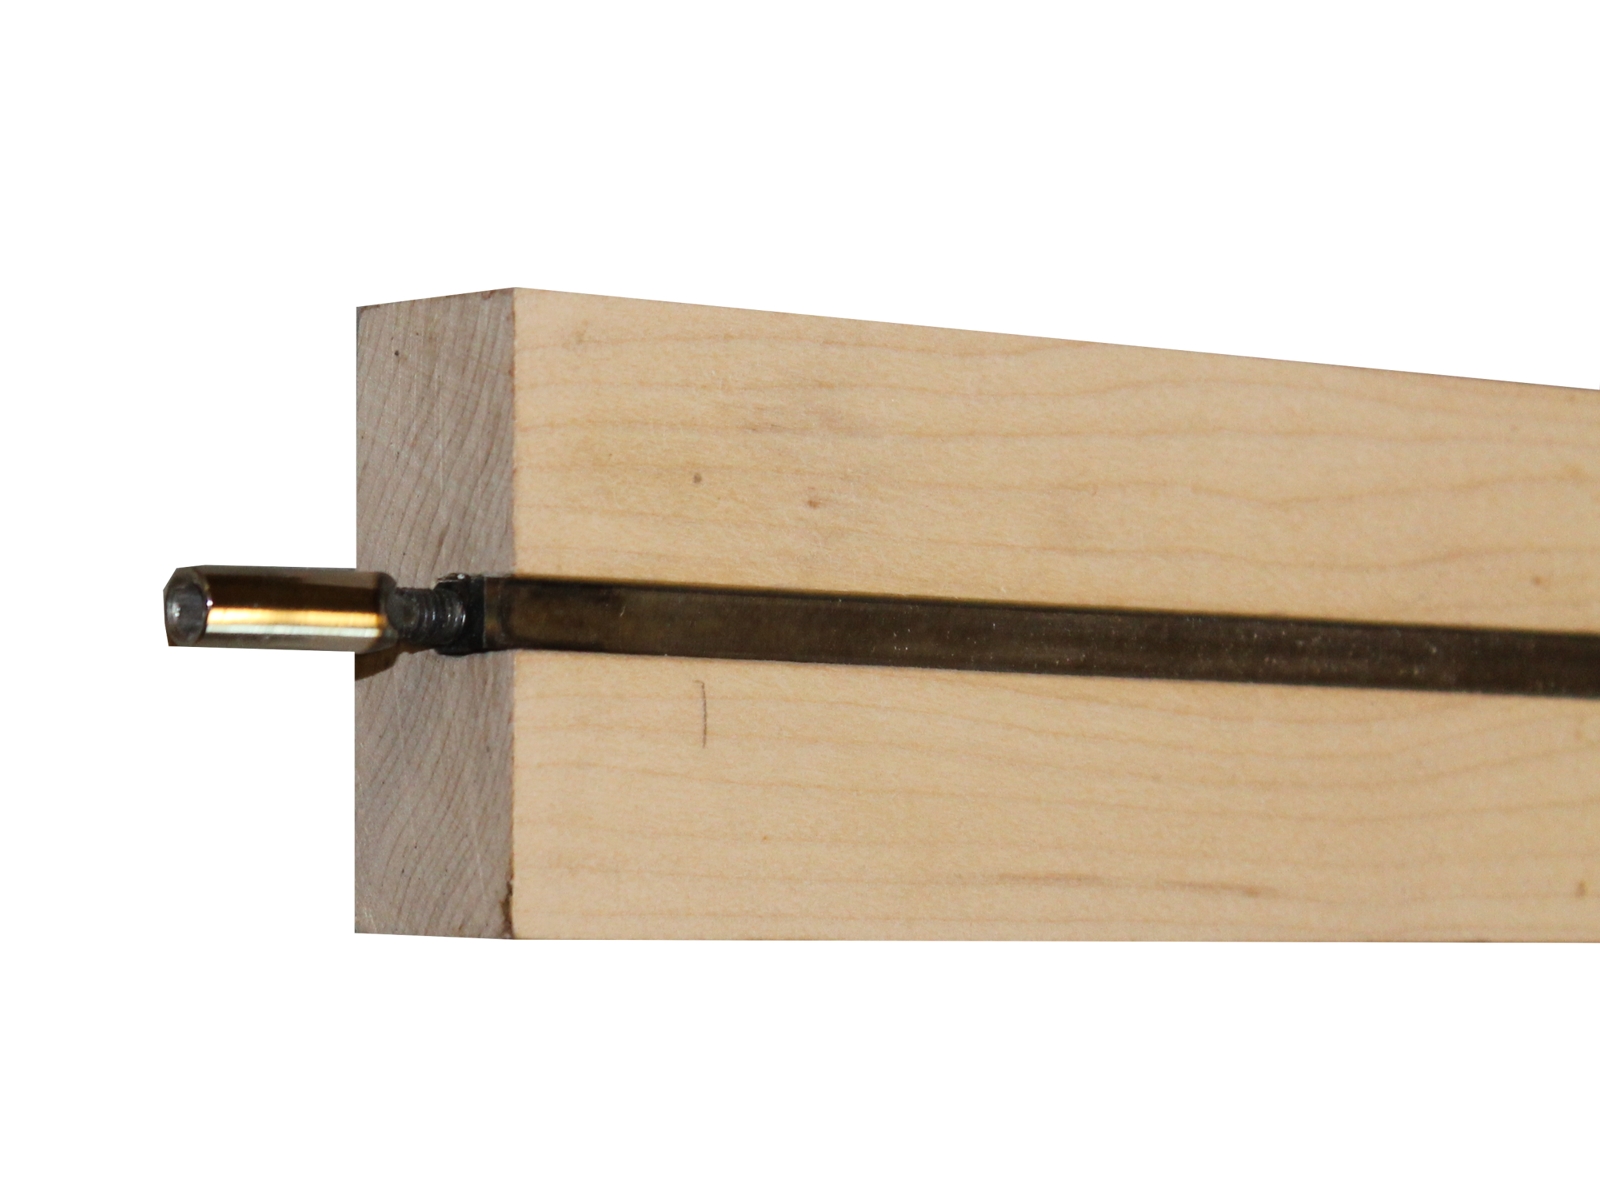 Note: As this point the nut on the rod will not seat into the slot, it is slightly wider than the slot to allow for the 4mm hex key. Note: Do not glue or silicone the rod in at this point. Remove the rod to drill for the seat for the nut. | ||
| D. Mark a 1 3/4" distance from the heel on the slot for the length of the rod nut. Use a 9/32" drill bit, place it at the bottom edge (lower edge of bit at bottom of slot) of the slot and gently drill into the slot channel until you reach the 1 3/4" mark. This will for a hole for the rod nut to ride into the slot and locate the nut in the heel.  Note: If you start the drill bit in reverse first it will start the hole and then change back to a normal drilling direction for the actual boring, this helps both start the hole and center the bit location and helps prevent tear out on the wood. | ||
E. Slide the truss rod into the slot from the end. The nut will now sit in the slot correctly.  | ||
F. The nut should seat correctly in the end of the slot and allow for a good adjustment.  | ||
| G. Last process prior to beginning your fret board installation. Install a block in the gap at the heel between the nut and the top of the neck blank, flush cut and sand flush as needed, be careful to not change the shape of the top of the neck blank.  If the rod is low in the slot at this point, insert a 1/4" wide thin board on top of the rod and flush off to the top of the neck blank, this will help hold the rod in place and also prevent buzz against the fret board. This is simply a scrap piece of softer wood that can be easily smooth down even with the neck blank top. |

